Please work through the example bridge found in chapter 3 of the manual or if your first project is a tower please work through the "Tower Quick Start Plus".
(In the current version we mapped the navigation keys to the main keyboard - a numeric keypad is no longer required. See Chapter 5.)
Having trouble setting the preferences for viewing the
manual from "Help"?
See "GettingStarted.pdf" in the ModelSmart3D folder
on your hard drive.
The client area of the program window is black with a few white dots.
The client
area of the program window is transparent.
Check the ModelSmart3D folder. If you find the files
"glu32.dll" and "opengl32.dll" rename them to "glu32.old" and
"opengl32.old".
When the "Color Axial Stresses" option is selected,
what does dark blue mean?
Dark blue means relatively high tension.
Dark green is high compression.
Remember, use the "Animate Displacements" analysis
option to view the stress levels.
Where can I find a printing from ModelSmart3D example (see below for other printing options) ?
Printing on 8.5x14 and 11x17
Why do the vectors point up when I apply loads to the model?
Can ModelSmart3D analyze a
Vierendeel Truss?
Yes. ModelSmart3D can
analyze it! A Vierendeel "Truss" -
actually it is a frame ( it has moment resisting joints ) invented by M.
Vierendeel of Belgium in 1896. vented by M.
Vierendeel of Belgium in 1896. 
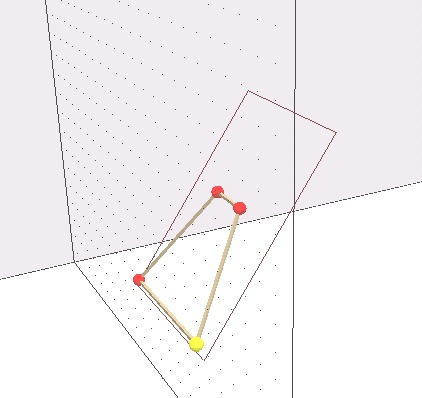
Can I print a skewed side of a tower?
Yes. Instructions for skewed printing (Skewed YZ plane only):
1.) Position YZ GuidePlane to go thru the bottom joint of the skewed
left side.
2.) Select joints to be projected onto the skewed plane.
3.) Press the letter "p" to print.
4.) Press the letter "p" once more to turn of the tiles and
reset the skewed printing mode before printing again.
My laptop does not have a numeric keypad. How do I access the navigation keys?
(In the current version, the numeric keypad navigation mapped to the standard keyboard - see chapter 5 in the latest manual.)
The numeric keypad is an important tool for moving the observer around the model (See the "Navigation" chapter in the manual). Fortunately, most laptops make these keys available with the blue "fn" key which provides access to the numeric key keypad keys via the special blue labeled keys on the laptops keyboard.
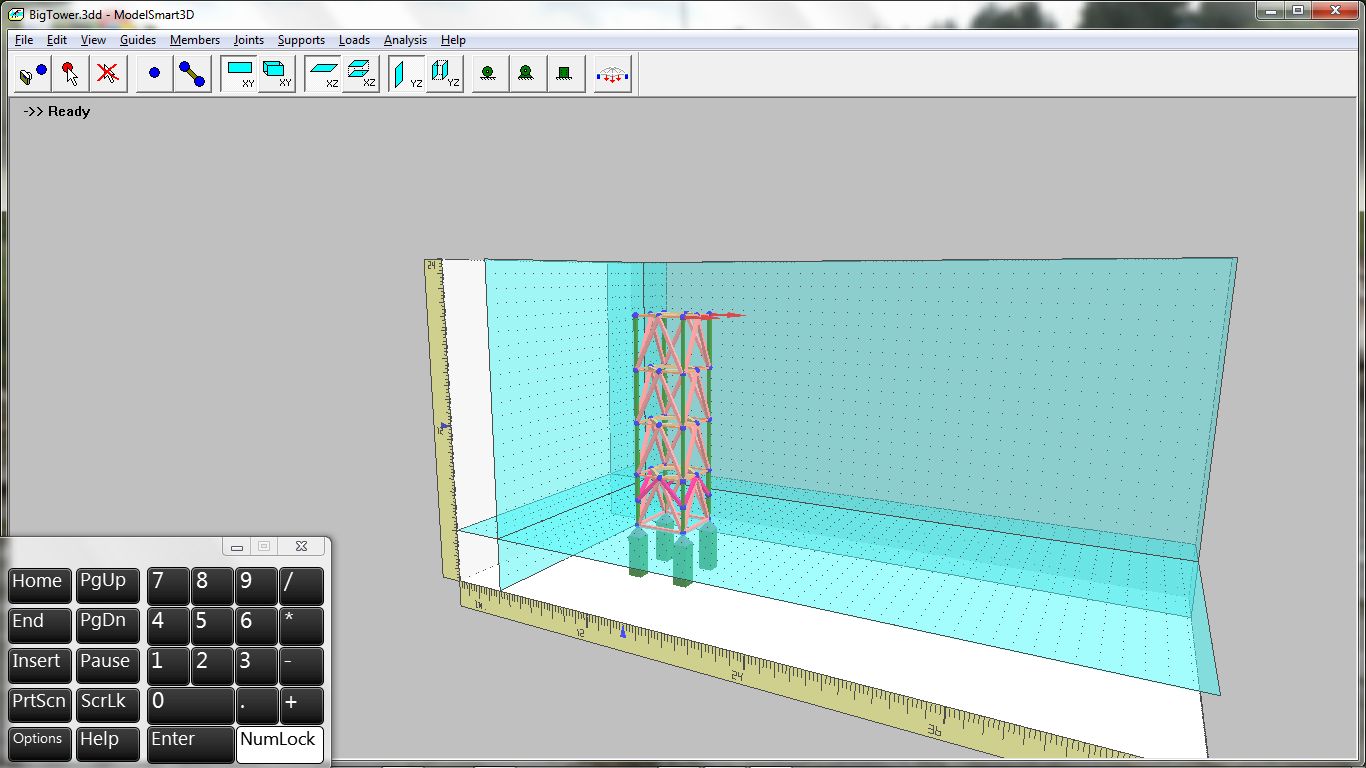
Some of the newer laptops (ie ultrabooks) don't provide this blue "fn" key mechanism. But there is something even better. The onscreen keyboard!
This works better than the on blue "fn" key method. In XP it is available from "Start Button-> All Programs-> Accessories-> Accessibility-> On-screen Keyboard". Turn on the numeric key pad using the "options" menu found on the on-screen keyboard then move the on-screen keyboard to the lower left corner of the screen so that only the numeric pad shows. Now you can use your mouse to press the keys. It's the best! The screen below shows the on-screen keyboard on a HP Spectre Ultrabook running Windows 7 Home Premium 64-bit.
Windows10 - If after entering your serial number and license to, ModelSmart3D fails to run:
Navigate to the ModelSmart3D folder on your hard drive. Highlight and right click the "ms3d" application file. Select "Run as administrator". Re-enter your serial number and license to. (If you are using Window's "User Account Control" set to medium or higher, the UAC prevents you from logging in with full Admin rights. You can either lower or turn off the "User Account Control" (not recommended) or temporarily bypass the "UAC" just for ModelSmart3D in order to enter your license information - by using "Run as Administrator" option. Once this is done you can then exit the program and run it as a restricted user.)
There are now three ways to print out a drawing that can be used as a pattern.
There is a print function built into ModelSmart3D that tiles the
printout on 8.5x11 pages, a print utility located in the ModelSmart3D
folder that can print on up to 11x17 paper, and an option to export a
.dxf file (From the "File->Export as DXF" menu option) for uploading in
to another CAD program.
The ModelSmart3D model data file is a text file that can be edited using a text editor.
The key to the ModelSmart3D .3dd data file can be found here. The format of the data is strict - there is one space separating values.